
Renovating in Italy - Step 1
Your first weeks after getting the keys
This article is the first part of a renovation series for owners who already bought a house in Italy and want to approach their renovation with clarity. I write this because I see the same patterns return in cascine, apartments and town houses.
And when you want to skip all these steps and searching for a Full-Service Design & Renovation Studio look no further and send me a message right away ;-) : click here to send me a whatsapp message.
As a building engineer with years of experience in restoration and renovation in the Netherlands and in Italy, I want you to start from a stronger position than most owners do.
In the next few weeks you’ll set the tone for the entire renovation. This blog shows you exactly how.
“Don’t forget the heights, want to turn a garage into a living or kitchen? You’ll need 2.70m height and 2.40m for a bathroom. ”
In this first step of the blogseries, I take you through:
How to establish a clear zero-measurement of your Italian home
The early building signals you should never ignore
How to align your wishlist with the building’s reality
The small professional habits that prevent expensive surprises
Three actions you can take this week to regain clarity
1. Begin with a baseline you can trust
The drawings you receive during the purchase are not always suitable for renovation planning.
If you want to understand what will and will not fit, the quickest way is to take basic measurements yourself. It does not need to be perfect. It only needs to be accurate enough to think clearly about space, flow and potential. Don’t forget the heights, want to turn a garage into a living or kitchen? You’ll need 2.70m height and 2.40m for a bathroom.
If you don’t have drawings at all, request the latest approved plans from the municipality or ask your geometra to obtain them. They show the legally registered situation, which is important before any changes.
For any renovation that involves moving walls or changing layouts, a geometra will later make a full measured survey and draw official plans for permits. But if you want to start exploring ideas now, measuring the house yourself is the simplest place to begin.
A zero-measurement gives you:
A calm, factual baseline
A list of uncertainties to resolve later
A better way to communicate with your geometra, contractor or designer
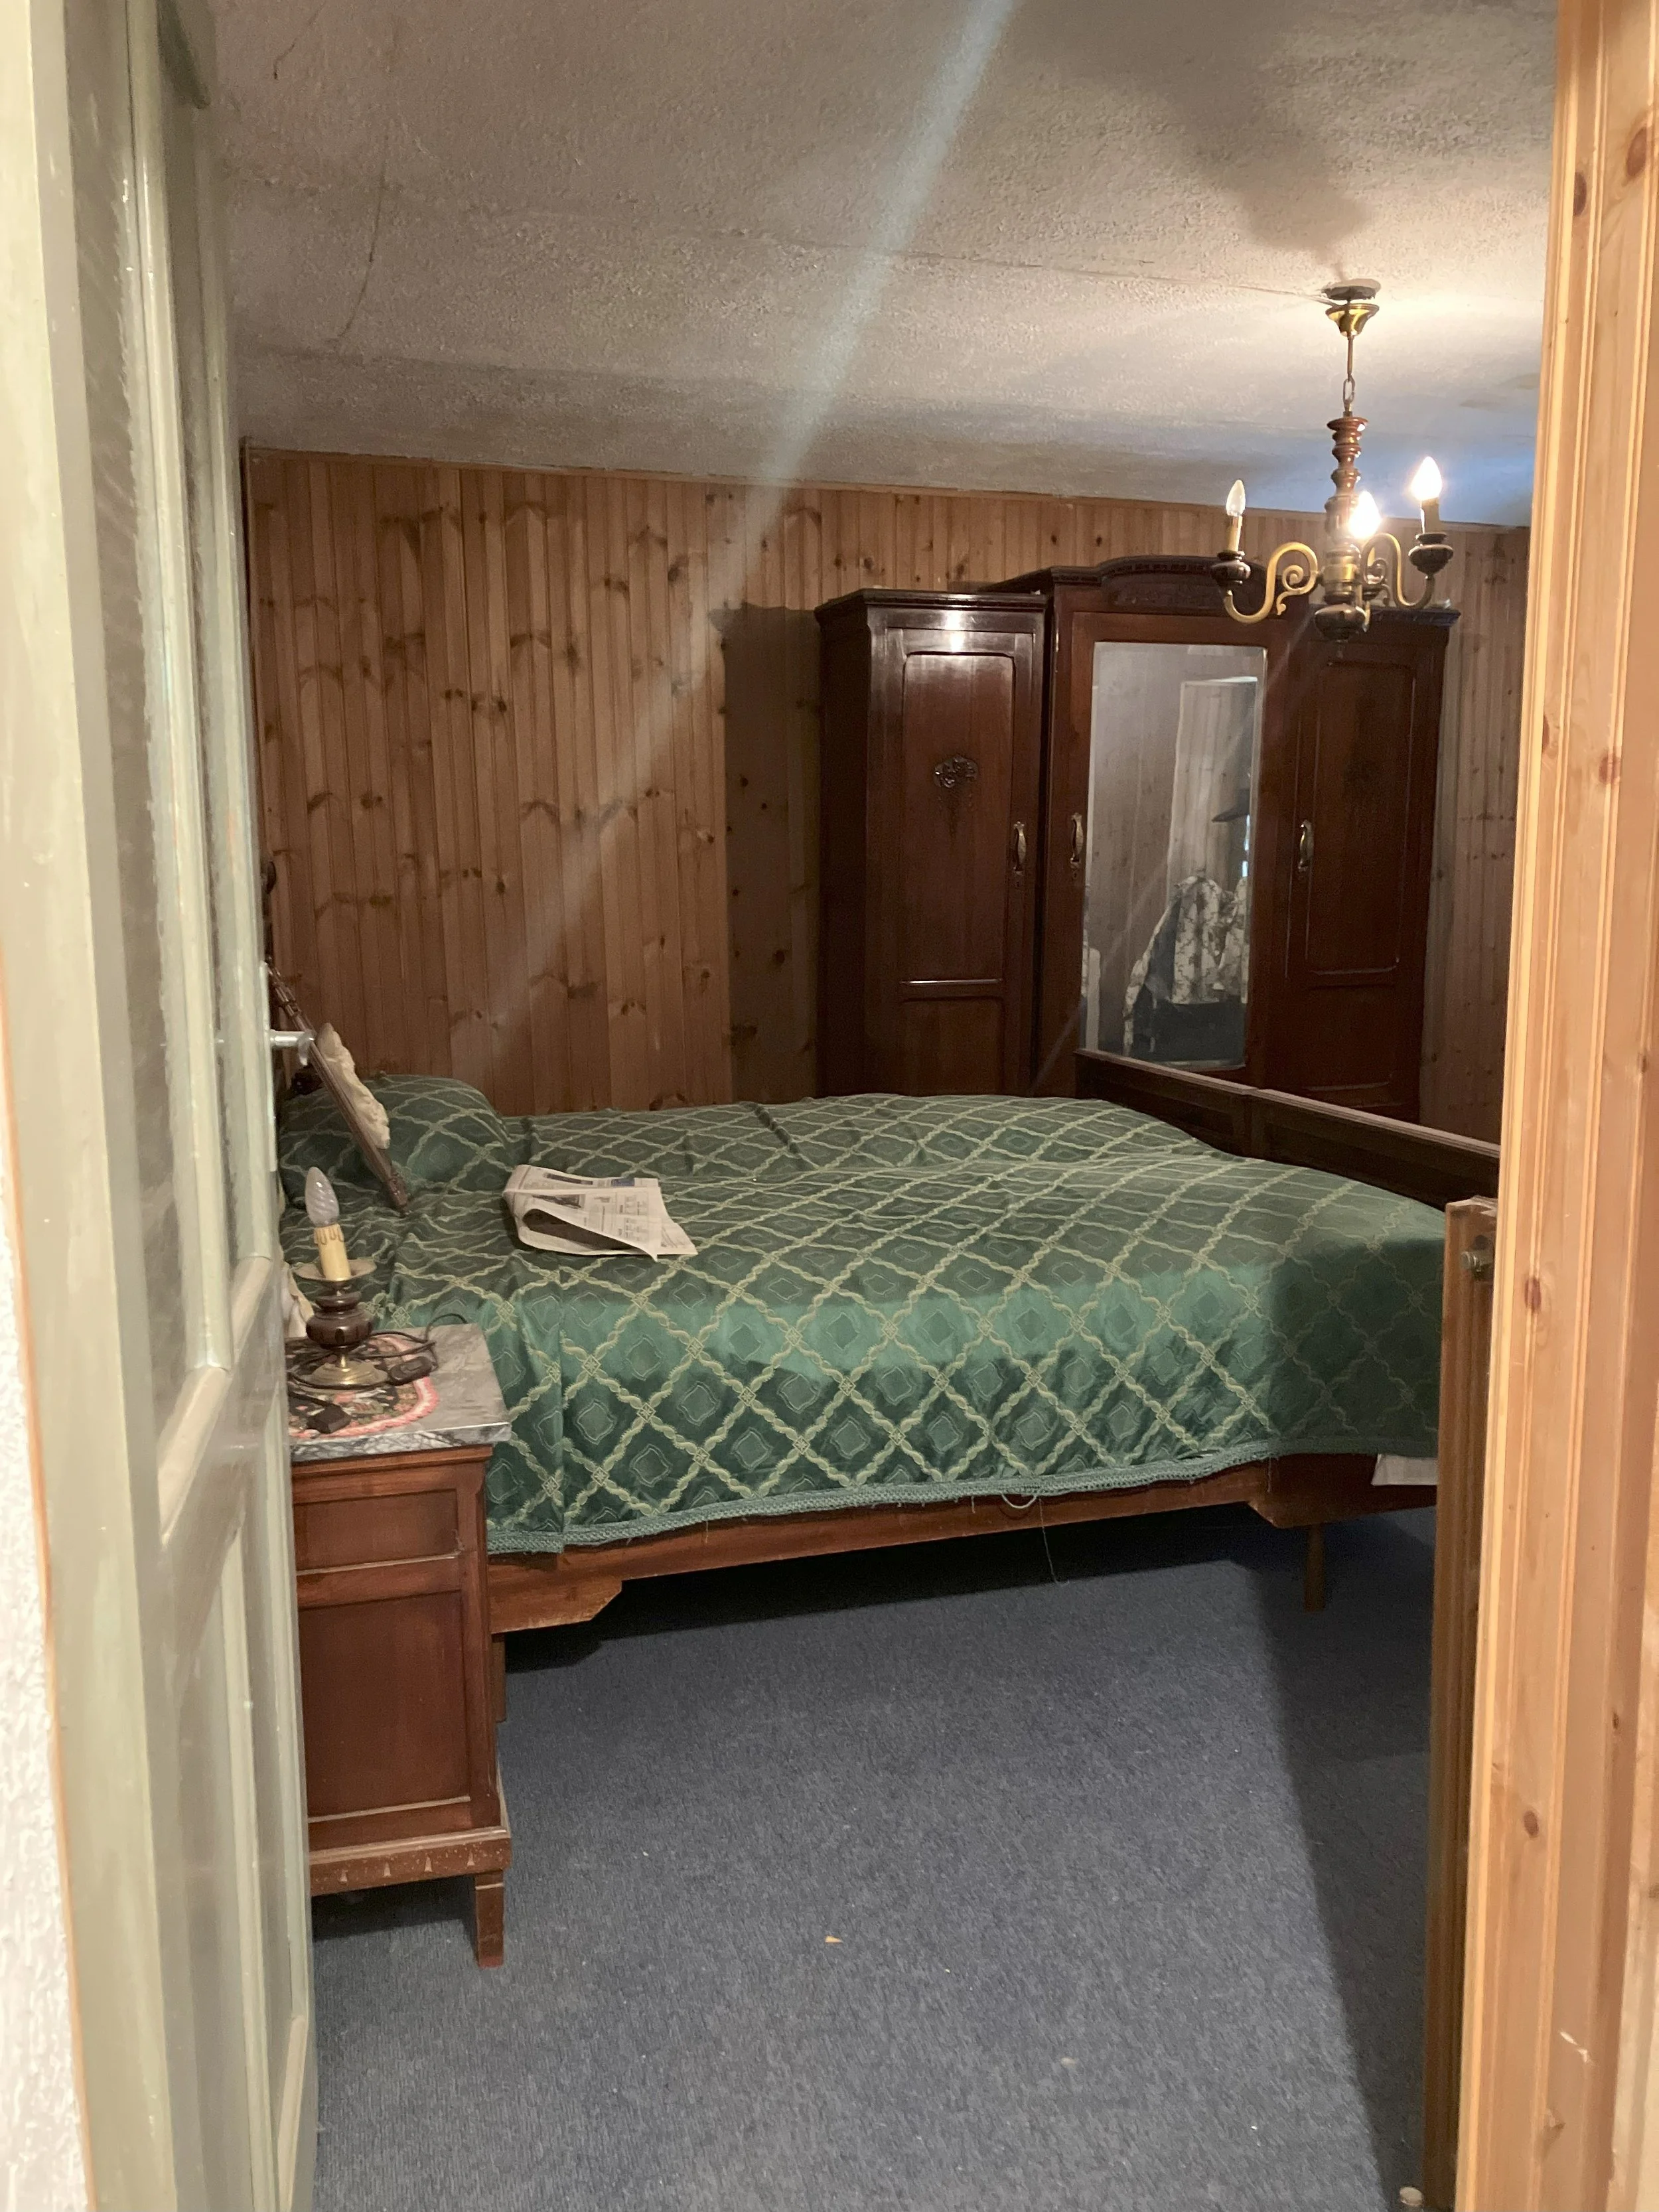
“Rooms full of someone else’s belongings, uneven floors, damp corners, smells you cannot place and details you did not notice during viewings.”
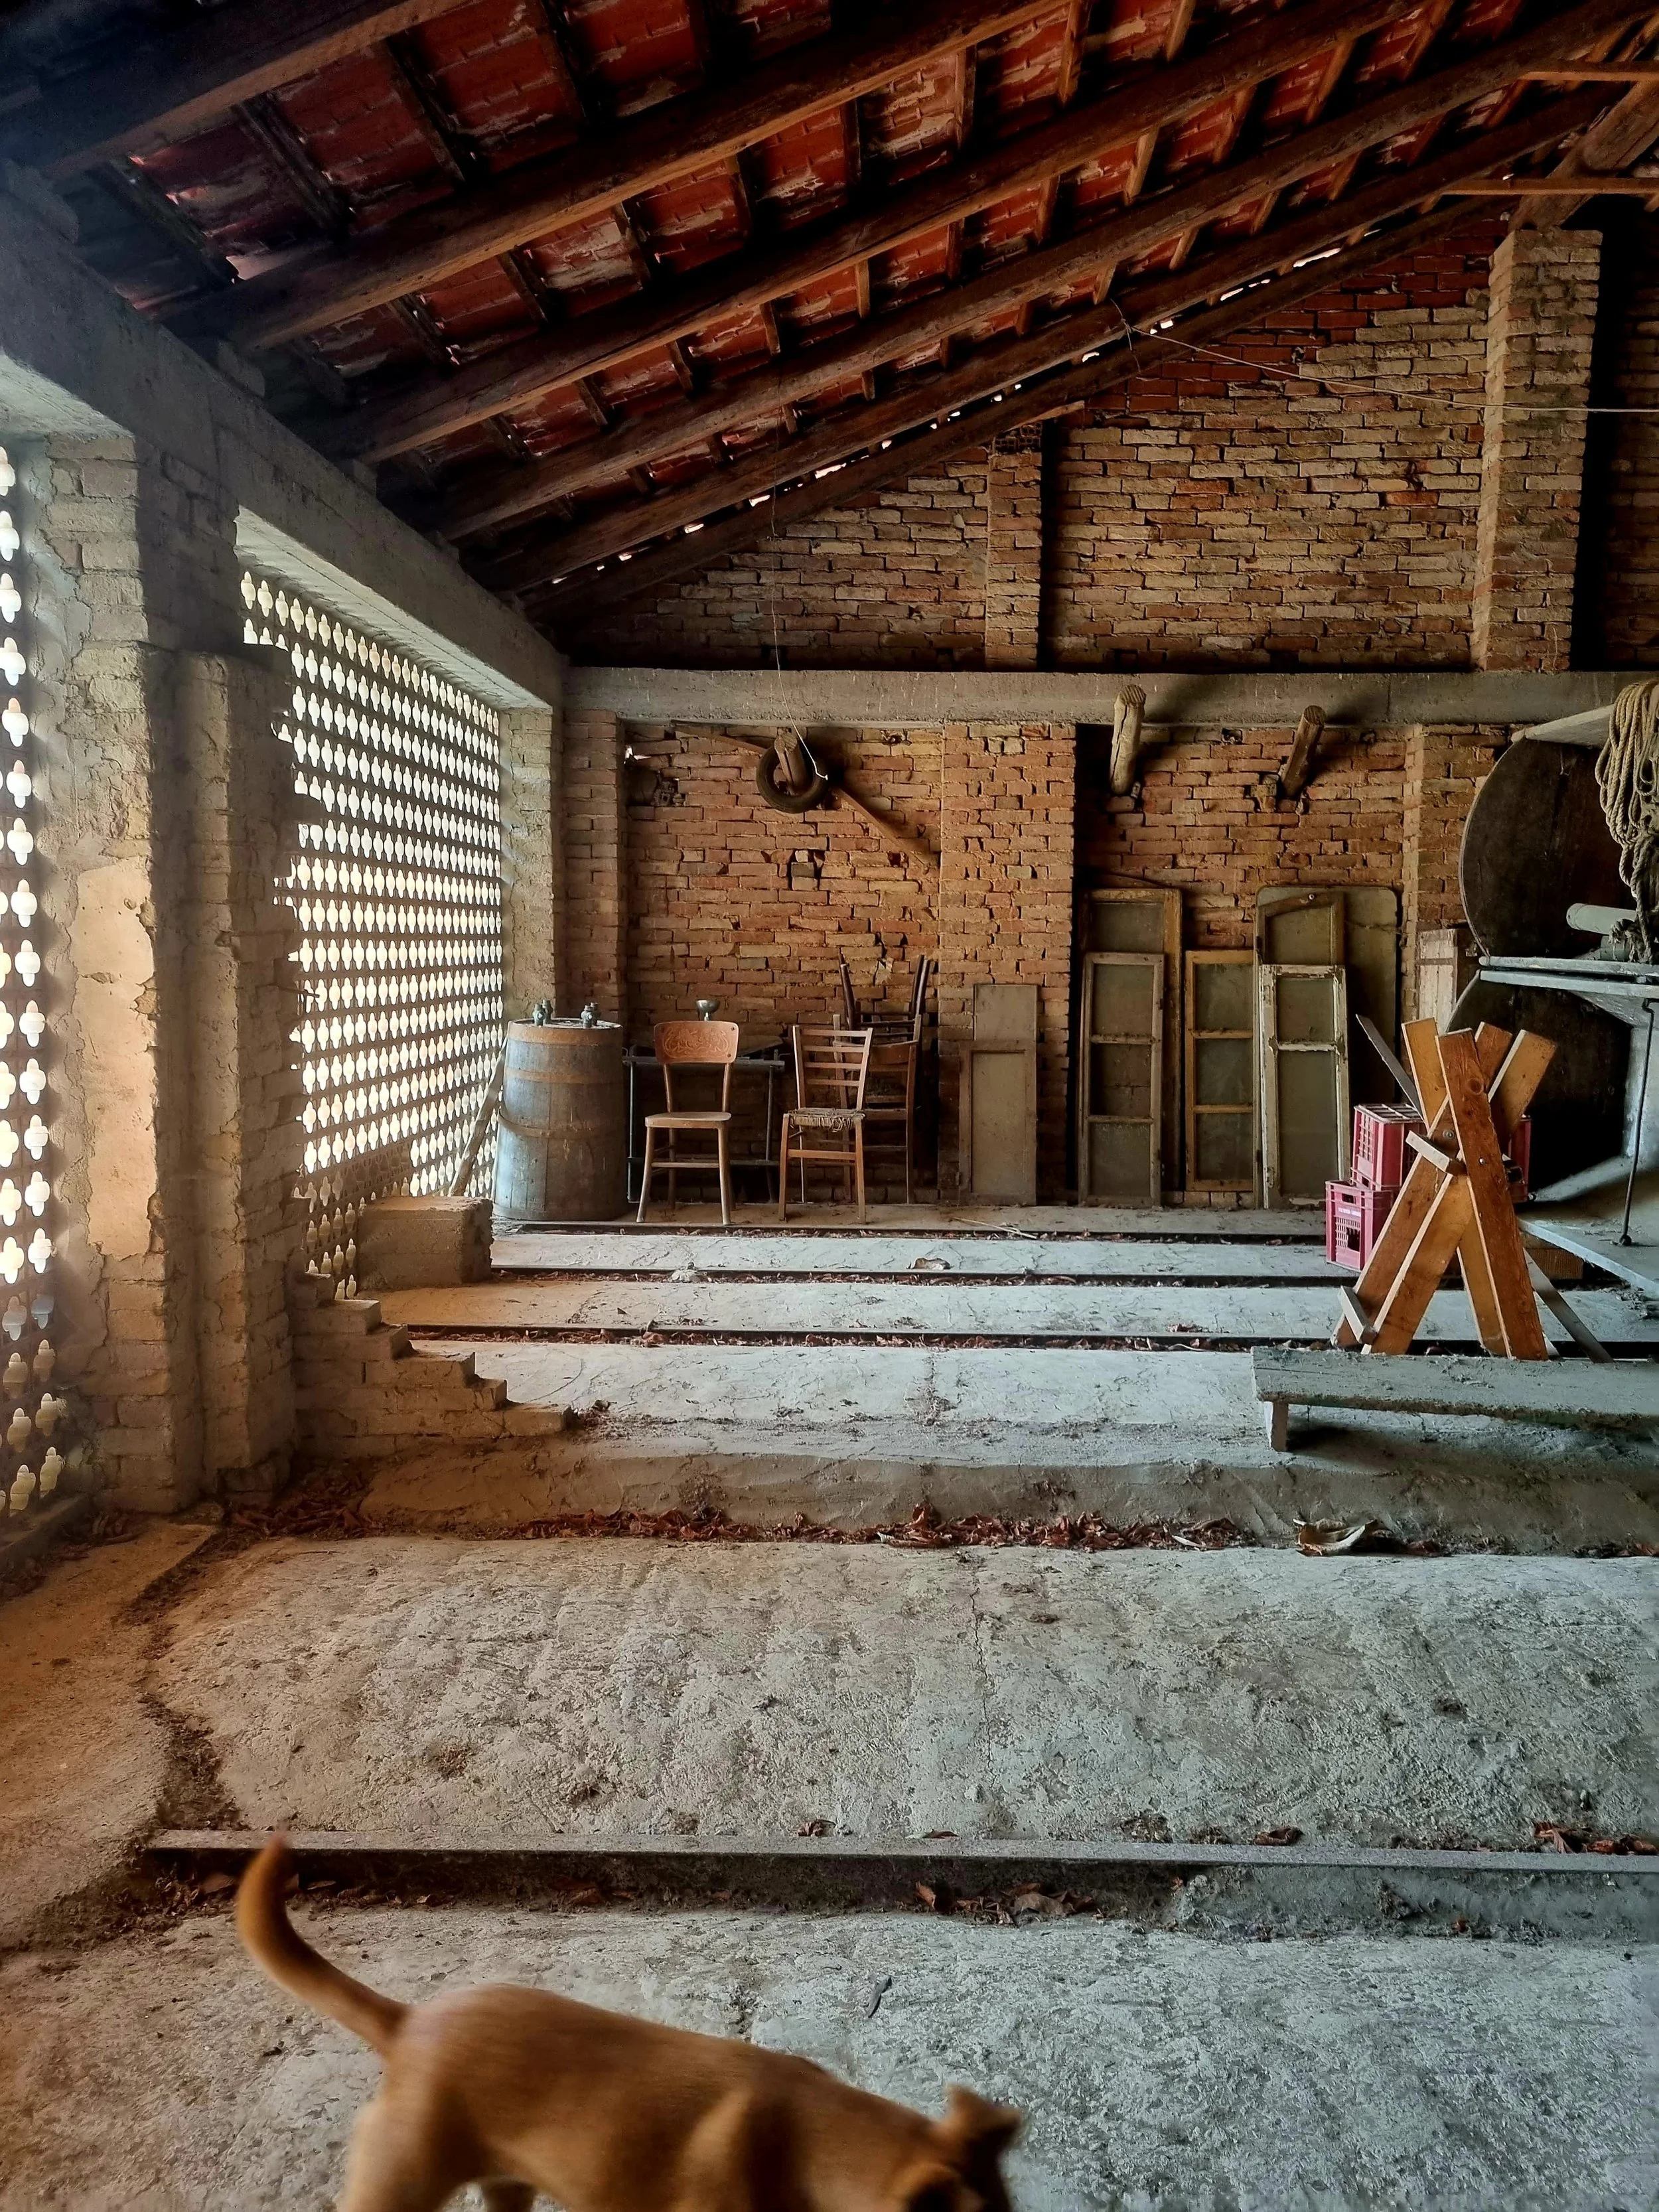
2. Early building signals that matter
Every Italian home tells you something about its condition long before contractors enter the picture. These are the key elements that define what is possible technically and what may influence your budget on a larger scale. If you want structure and don’t want to overlook anything, later in this series I’ll share more about the technical checklist we use ourselves.
Structure
Not every irregularity points to a problem, but some do. Notice:
Cracks around corners, beams, openings or chimneys
Cracks that continue across floors or façades
Floors that slope or feel soft underfoot
Rooms where doors no longer close properly
Sloping or uneven floors are common in older Italian buildings, but if the angle is significant or changes abruptly, it can indicate past movement or weakened structures.
You don’t need to diagnose anything at this stage. The goal is simply to register what you see so you can revisit it later with the right professional. You could monitor a crack if you want, i’ll tell you about it in our technical checklist.
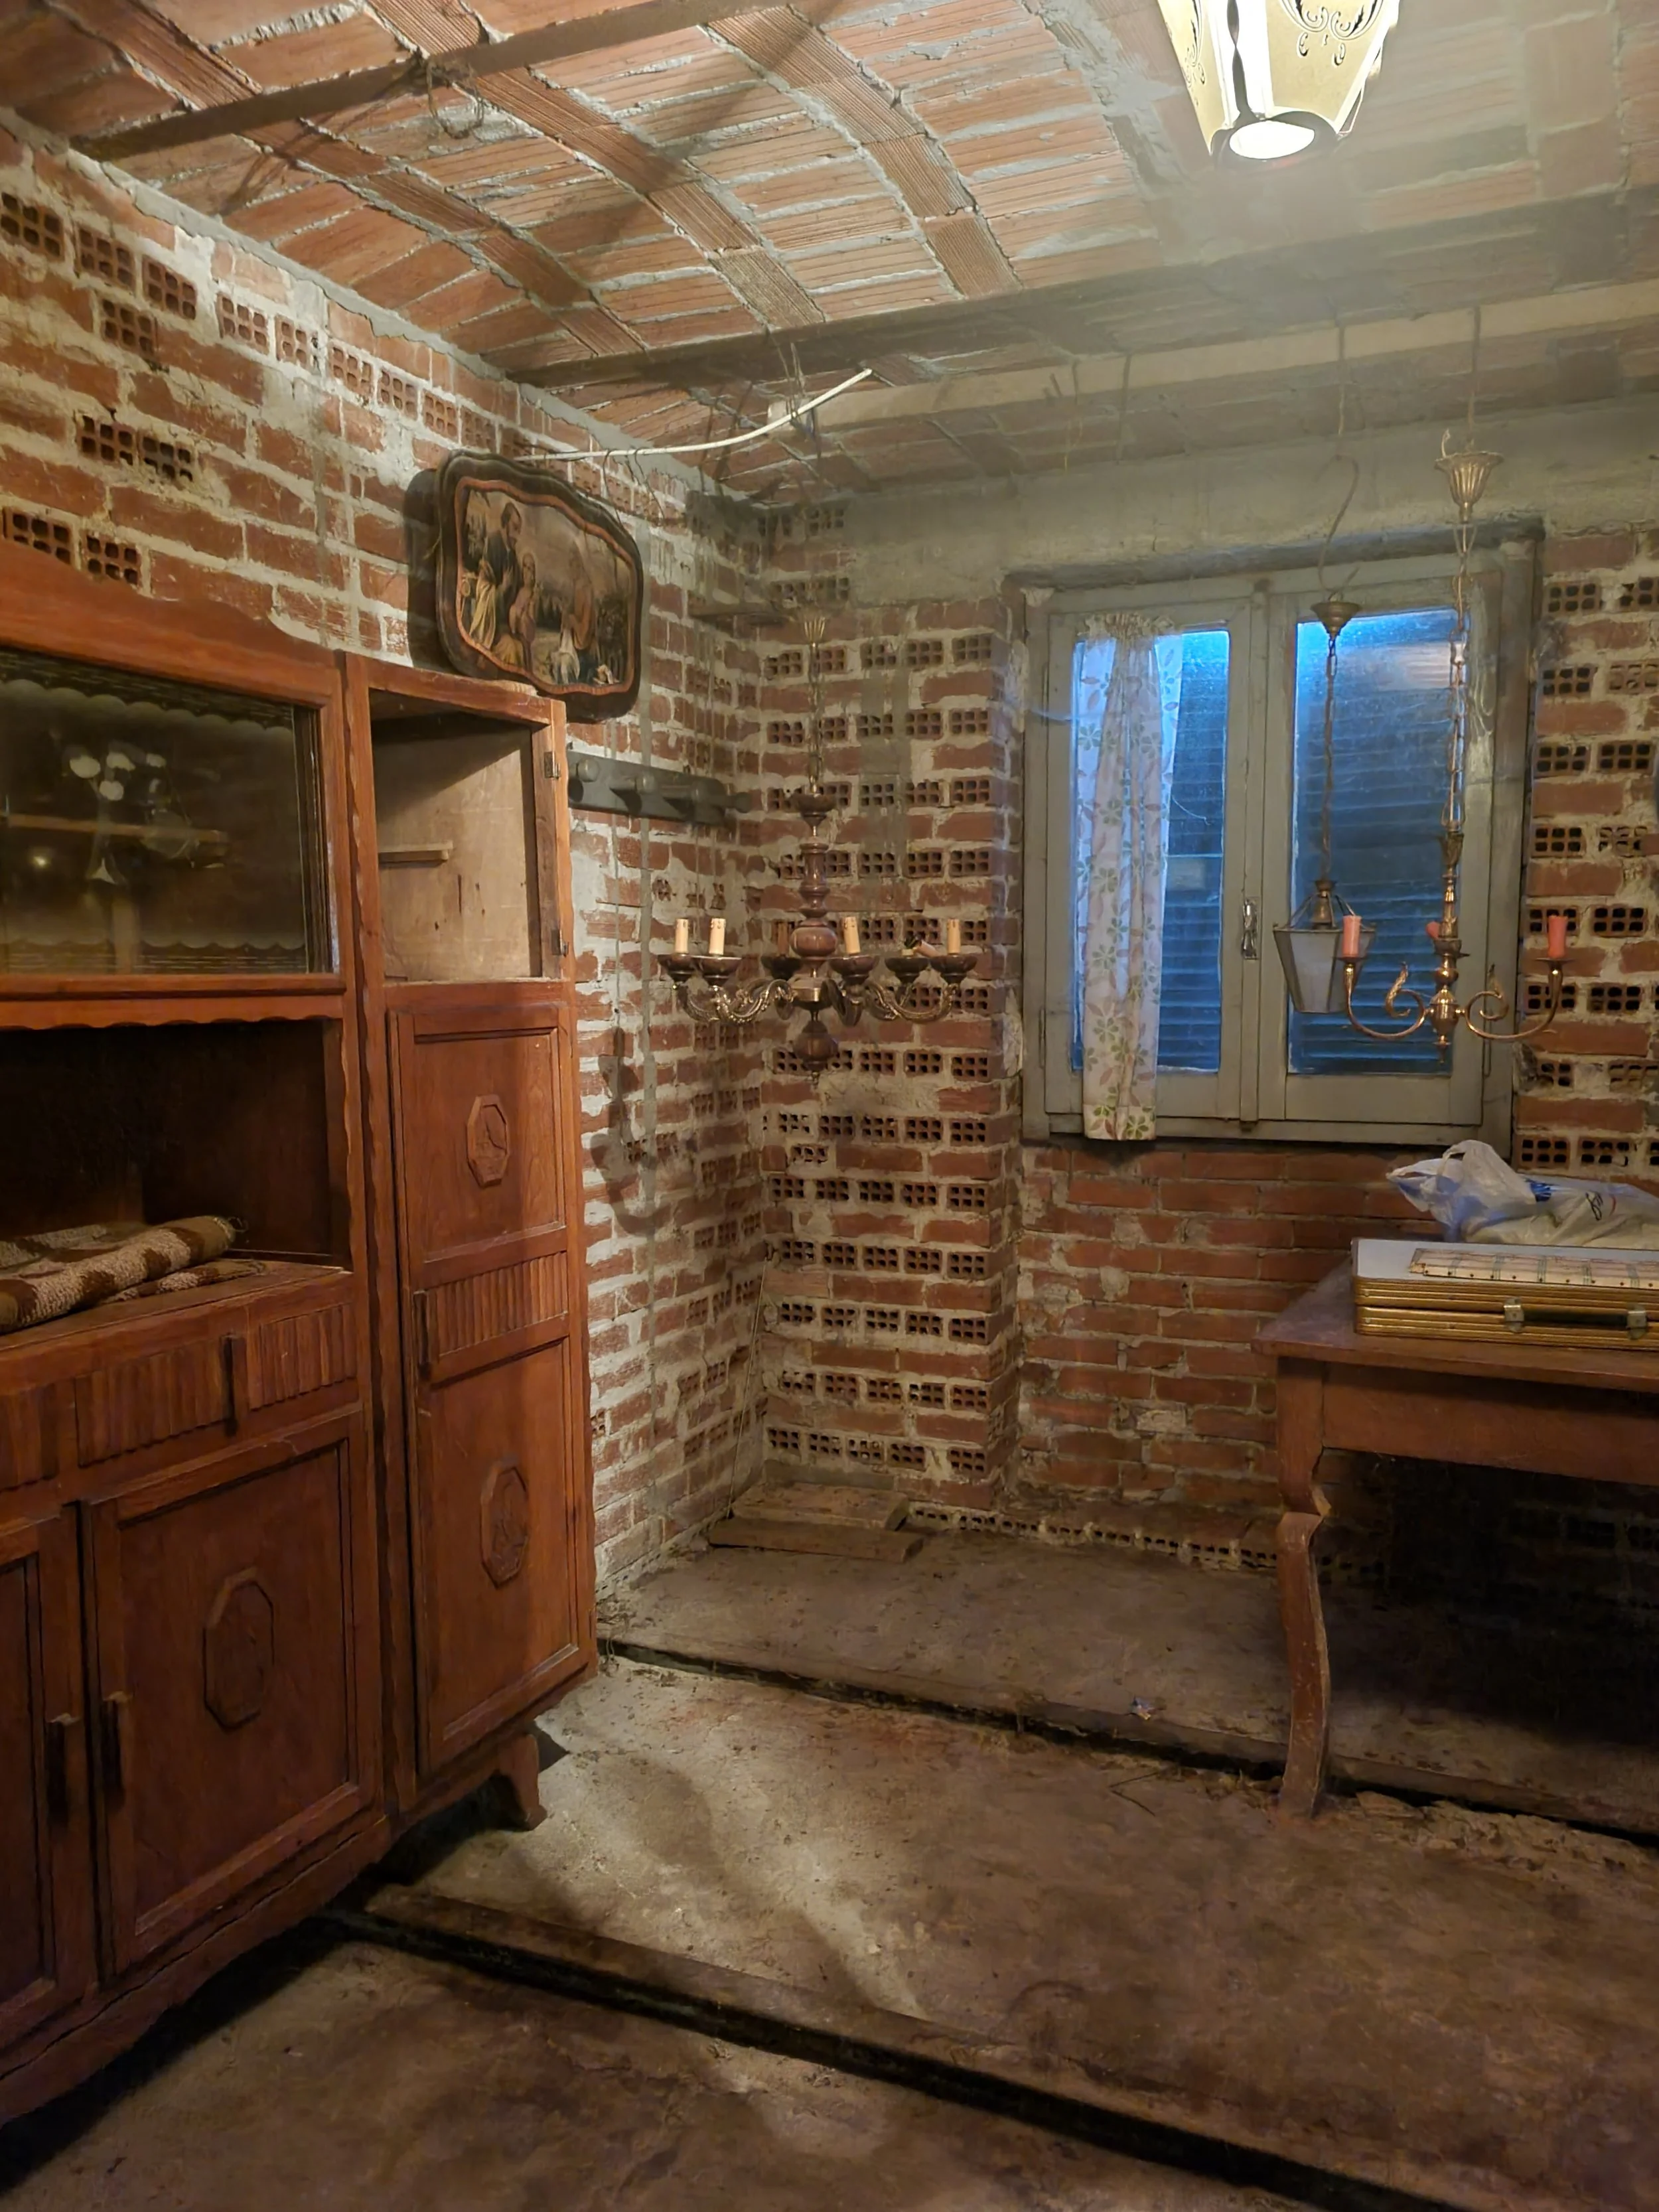
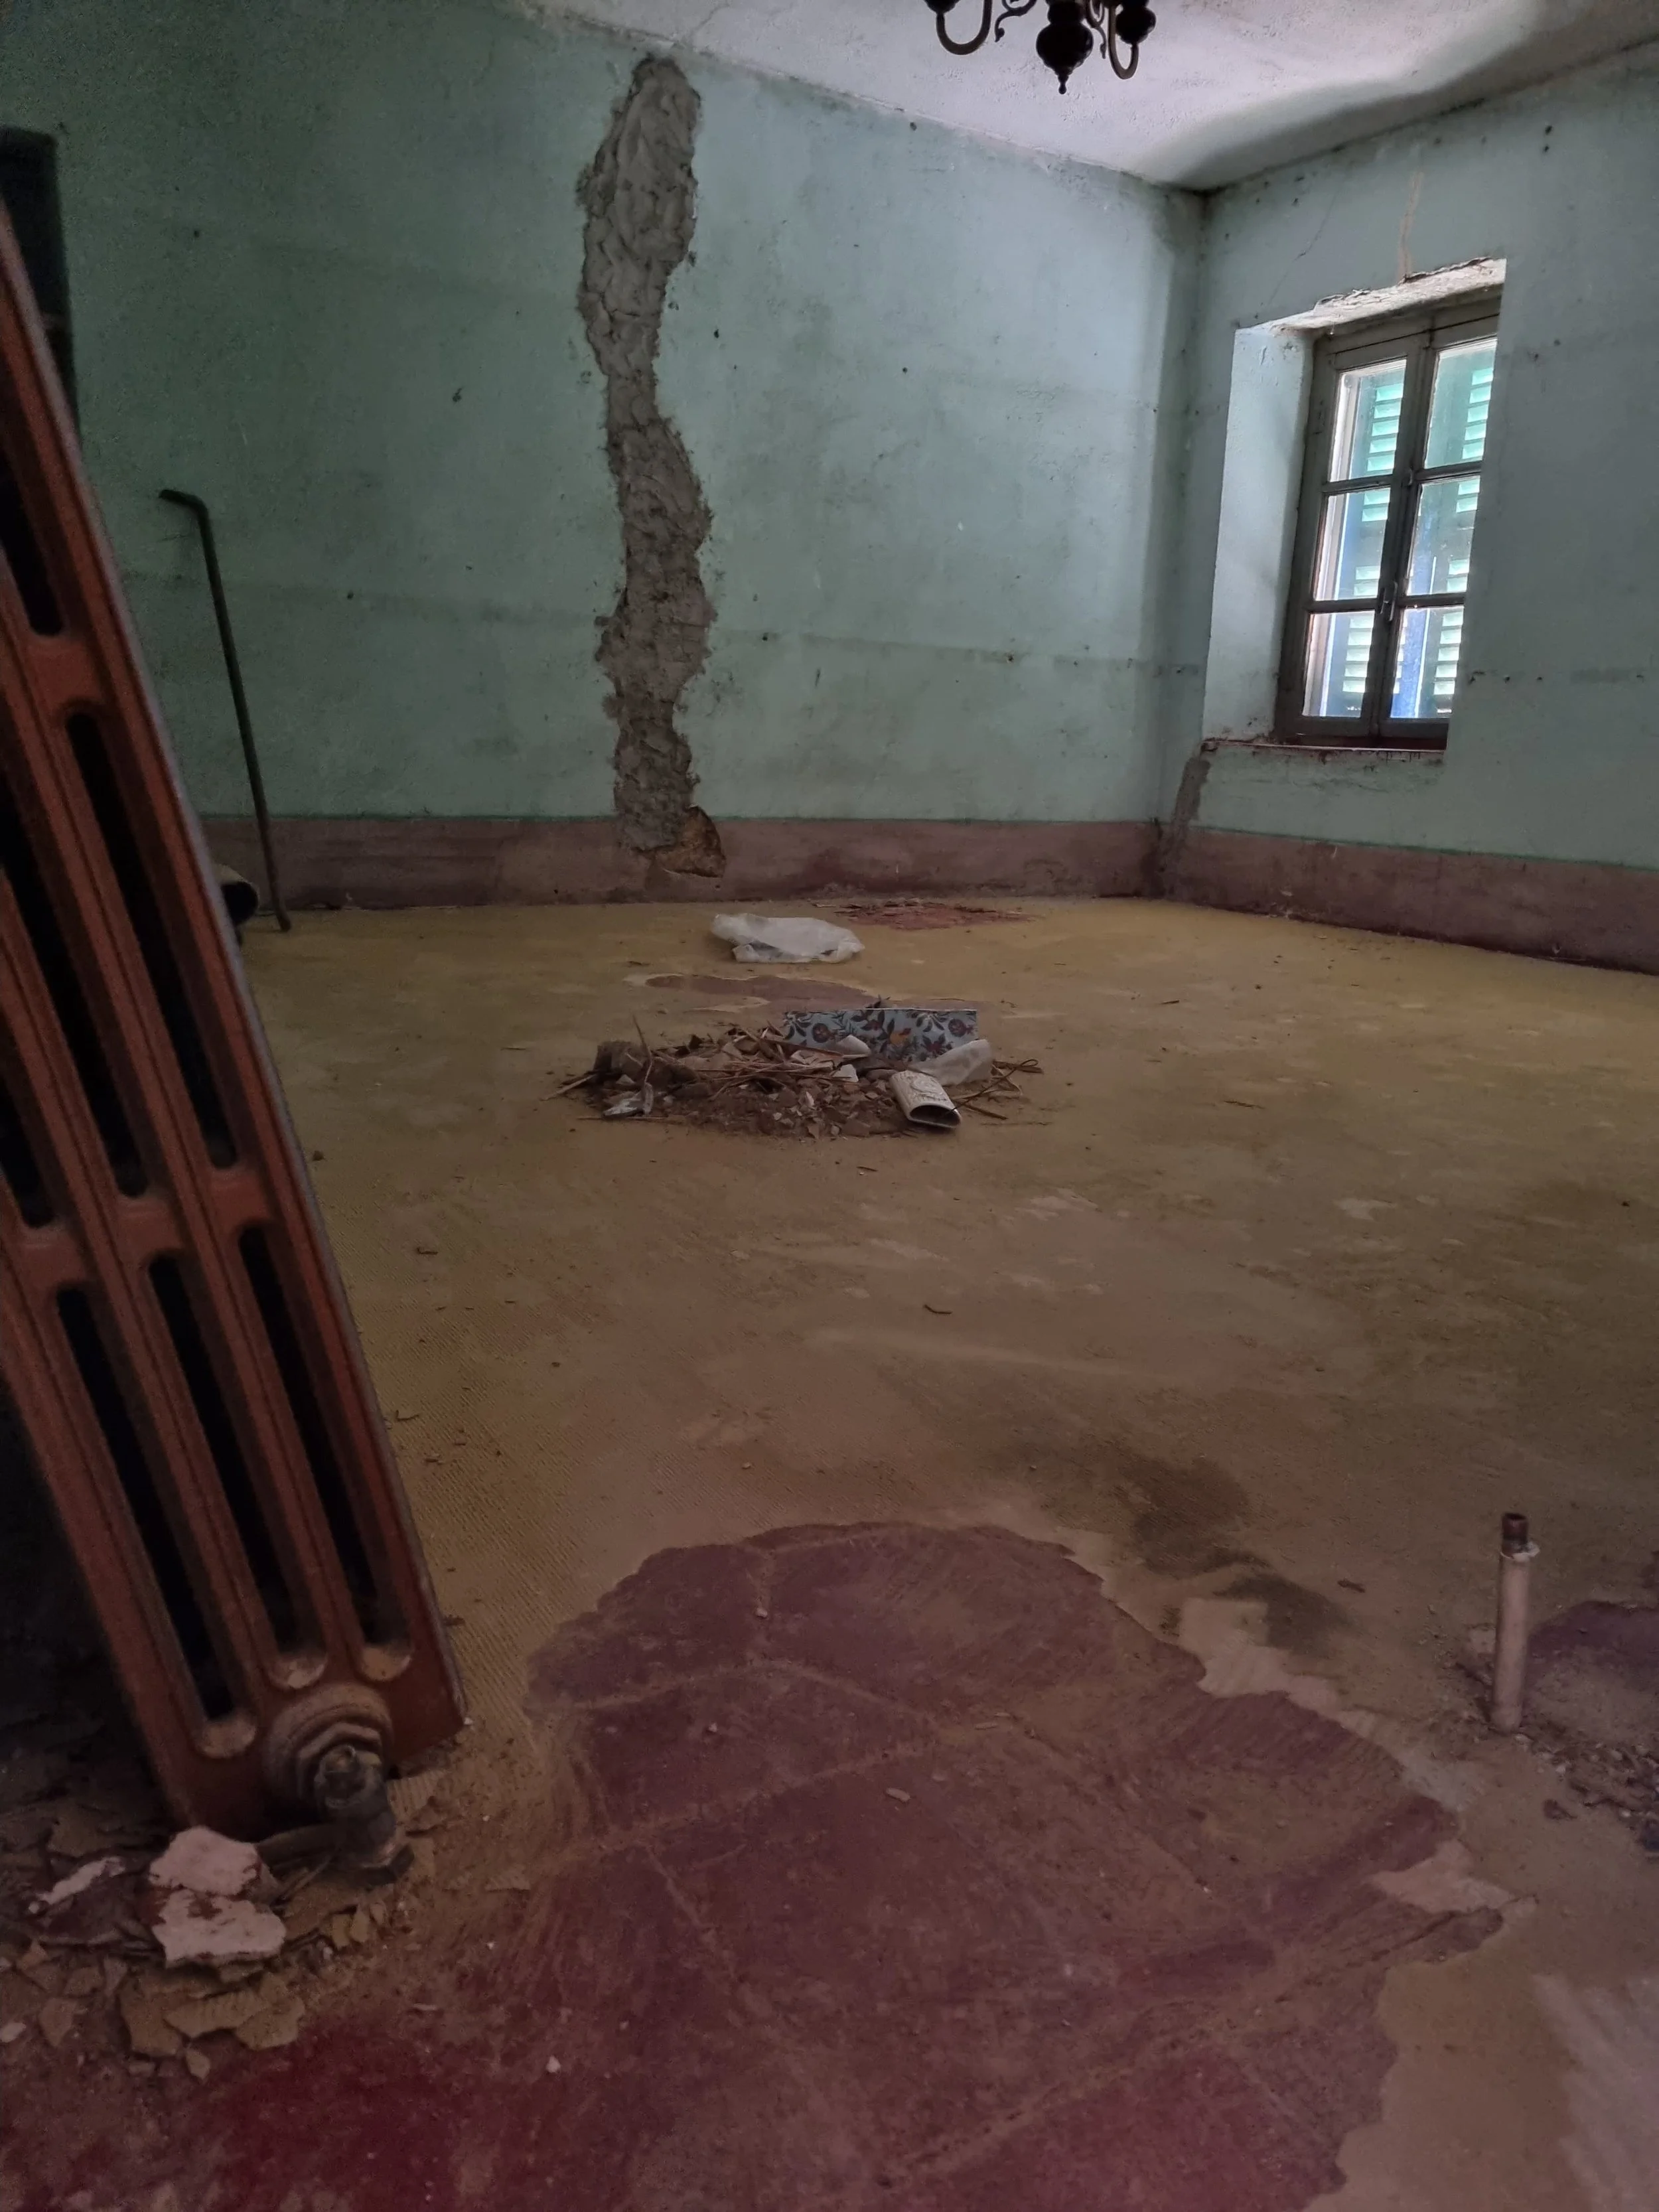
Damp and Moisture, Inside and Outside
Damp behaves differently in Italian construction than in Northern Europe. Older walls are often meant to breathe, and problems can arise when:
Cement-based plaster has been added in the past
Walls were painted with dense latex
Ventilation has been poor for years
These layers trap moisture inside the wall instead of allowing it to evaporate.
Protip: If you want a simple first check, you can buy an affordable moisture meter online and take a few readings in corners and colder north-facing walls. It won’t replace a professional assessment, but it will give you a sense of which areas need attention.
Roof, terrace and upper structures
Because roofs and terraces are high-impact and high-cost elements, pay attention to:
Stains or rings on ceilings
Bulging plaster
Damp patches around beams or roof lights
Or simpeler, buckets under the roof
For apartments, ask the condominio if there are open files related to the roof or terrace. It gives early insight into potential future costs.
Light, airflow and orientation
This is where technical and practical meet. Before changing any layout, observe:
How the light moves through the day
Which rooms stay dark or cold
Where air circulation is poor or heavy
It helps you understand which rooms naturally support which functions and prevents you from designing against the building.
“You don’t need to diagnose anything at this stage. The goal is simply to register what you see so you can revisit it later with the right professional. ”
3. Align your wishlist with the building
After the technical stage comes the personal stage.
What do you want this home to become for you.
Before moving walls or designing bathrooms, get clear on:
How you intend to use the house
How many people need to stay here comfortably
In which seasons you’ll spend time here
Which spaces you naturally gravitate towards
Where views and light support your daily rhythm
We do this with every client before opening a single drawing.
It prevents plans that look beautiful on paper but fight the building in practice.
Maximize the potential of your Italian renovation
At Studio Sernella, we believe a renovation is more than just a project—it’s an opportunity to create a space that truly feels right. Need guidance in planning, designing, or bringing your ideas to life?
Book a brainstorming session to kick-start your journey toward a home that radiates peace and beauty.
Renovation coaching: we’ll guide you through every phase, from concept to completion.
Hire us for maintenance or for solutions that bring your interior to life.
Curious about how we can help you?
Go to our contact page to reach out by our contact form and discuss your ideas and next steps or click the button below.
4. How professionals approach these first weeks
This is where you gain most of your future clarity.
These are simple habits, but they make the difference between a calm renovation and a chaotic one.
Number every room
It keeps notes, drawings and future communication consistent.
“Crack in room 03, north wall” is clear.
“Somewhere upstairs” is not.
Photograph with structure
Walk the house once with a fixed sequence.
Overview first, details after for every room.
Your future self will thank you when you put these pictures in a folder on your computer with the correct roomnumbers written.
Identify technical connection points
On your first round, write down
Main water meter and shut off valve
Electrical meter and panel, including current kW
Where the main drain leaves the house
Septic tank or connection to municipal sewer
Pits, pumps and wells
In apartments you add relevant information from the condominio.
Later, they will determine what is realistic for heating, cooling and bathroom placement.
Decide what you want to preserve
A staircase. A wall. Stone floors.
If you do not identify this now, character can disappear unintentionally later.
Professionals do this because it prevents noise, scope creep and unplanned costs plus it’s very helpfull to use it as a basis for your design.


“These are simple habits, but they make the difference between a calm renovation and a chaotic one.”
5. Three actions to put on your to-do list
You do not need contractors or drawings for these steps.
They are simple, calm and foundational.
1. One structured walkthrough - and then sit down with it
Now comes the fun part.
Sit down, open a good bottle of wine, it’s Italy for god sake (my favourite is an Alta Langa) and prepare a small tagliere before you write down the first essential points. You checked the measurements, took the photos, walked through the technical elements and noted what felt off or unclear.
This is where you turn those observations into something you can work with.
Go through your notes once and summarise everything.
Structural elements you want to follow up on
Sloping floors, cracks or movement
Damp areas, ventilation issues or cold corners
Stains on ceilings or signs of water ingress
Rooms with strong potential and rooms that need support
Anything that doesn’t match the paperwork
You are not solving anything yet.
You are creating a clean, factual baseline for every professional who will enter the house later.
2. A realistic budget outline
Not a spreadsheet yet, just clarity.
What is urgent, what is essential, what can wait, how do you divide the budget.
To make this easier I am currently developing:
An m²-price overview for typical renovation components
A budget management tool
A quote comparison tool
These help you keep control as your renovation expands. Keep an eye out for the next blogs in this renovation series blog aswell for more guidance!
3. Ask early questions and start building your local network
If you already have contact with a geometra, administrator or seller, ask:
What they would address first
Where they see potential risks
Whether known issues exist in the area or building
And if you want to find reliable contractors or a good geometra
Start at the local bar where you feel comfortable
Ask your neighbours whom they trust
Visit the comune to understand who is active in your area
6. If you’d like extra structure:
Most new owners walk through their house with good intentions but without a system.
That is exactly why many details get lost.
To prevent this, I created a technical checklist that guides you through each space in a clear, structured way. It is the same framework I use in my professional work, adapted for private homeowners.
It helps you:
Evaluate every room consistently
Avoid blind spots
Enter conversations with professionals with more confidence
Make decisions based on facts instead of feelings
In the next blog in this renovation series we will look at what you can and cannot change, how Italian permits work and what a geometra actually does during a renovation.
Continue Here to Step 2 of Your Renovation in Italy:
Understanding permits, professionals and what you can legally change. →

Meet the Writer
This blog was written by Jennifer Kenters-architectural engineer and designer-to make it easier for others to navigate the Italian home-buying process.
After renovating historic buildings in the Netherlands for years, I moved to Italy where I now work with buyers and homeowners who want to transform old farmhouses, apartments and holiday homes into something functional, comfortable and beautiful.
Through our own cascina renovation in Piemonte, I quickly realised how different the Italian building culture is, how easily important details are overlooked, and how valuable it is to have a clear structure from the very beginning. That is why I created this renovation series, sharing the practical steps, technical insights and lessons I wish every new homeowner had access to.
Today, Boy and I visit properties regularly and guide others through the technical and design stages of their renovation. Combining craftsmanship, construction knowledge and design, we help people make informed decisions before they start the building process.
Want to follow our journey? I share daily updates on our renovation projects, insights, and life in Italy over on Instagram , come say hi!