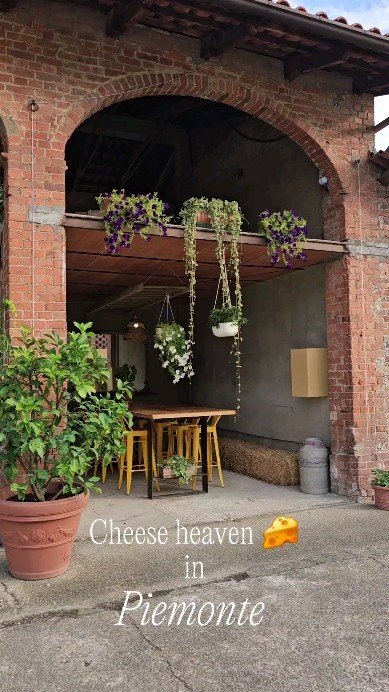
First Renovation Wins: Design Choices, Discoveries, and What’s Next
The first phase comes to an end
Although we approached the renovation with confidence due to our background and experience, we still learned a lot in this first phase. In this blog, we’ll walk you through our approach, share the four best design decisions we made, and talk about the pleasant surprises we encountered along the way. We’ve also packed this blog with plenty of photos, including before-and-after shots and progress updates, as well as insights into the costs we incurred throughout the process. Whether you're considering your own renovation or are just curious about our project, we hope this blog inspires and informs you!
“Sometimes slowing down and embracing the ‘Italian way’ of patience brought us closer to understanding what the house really needed.”

Why splitting the project into phases was a smart move
We’re incredibly glad we chose to divide the project into phases. This turned out to be useful for three key reasons:
We were able to move into a finished part of the house faster.
It allowed us to create a portfolio project to showcase our vision for homes in this region.
We went through all the steps already once, so we got to know the craftsmen and could decide if we wanted to continue with them for phase 2.
As much as we all want to move forward quickly and see results, it can be really valuable to take a slower approach when renovating or buying a home in Italy. This way, just like us, you’ll get to know the house and your own needs even better.
“Working with the existing materials, like the terrazzo floors, challenged us to be creative and make the design cohesive.”
The 4 best design choices we made
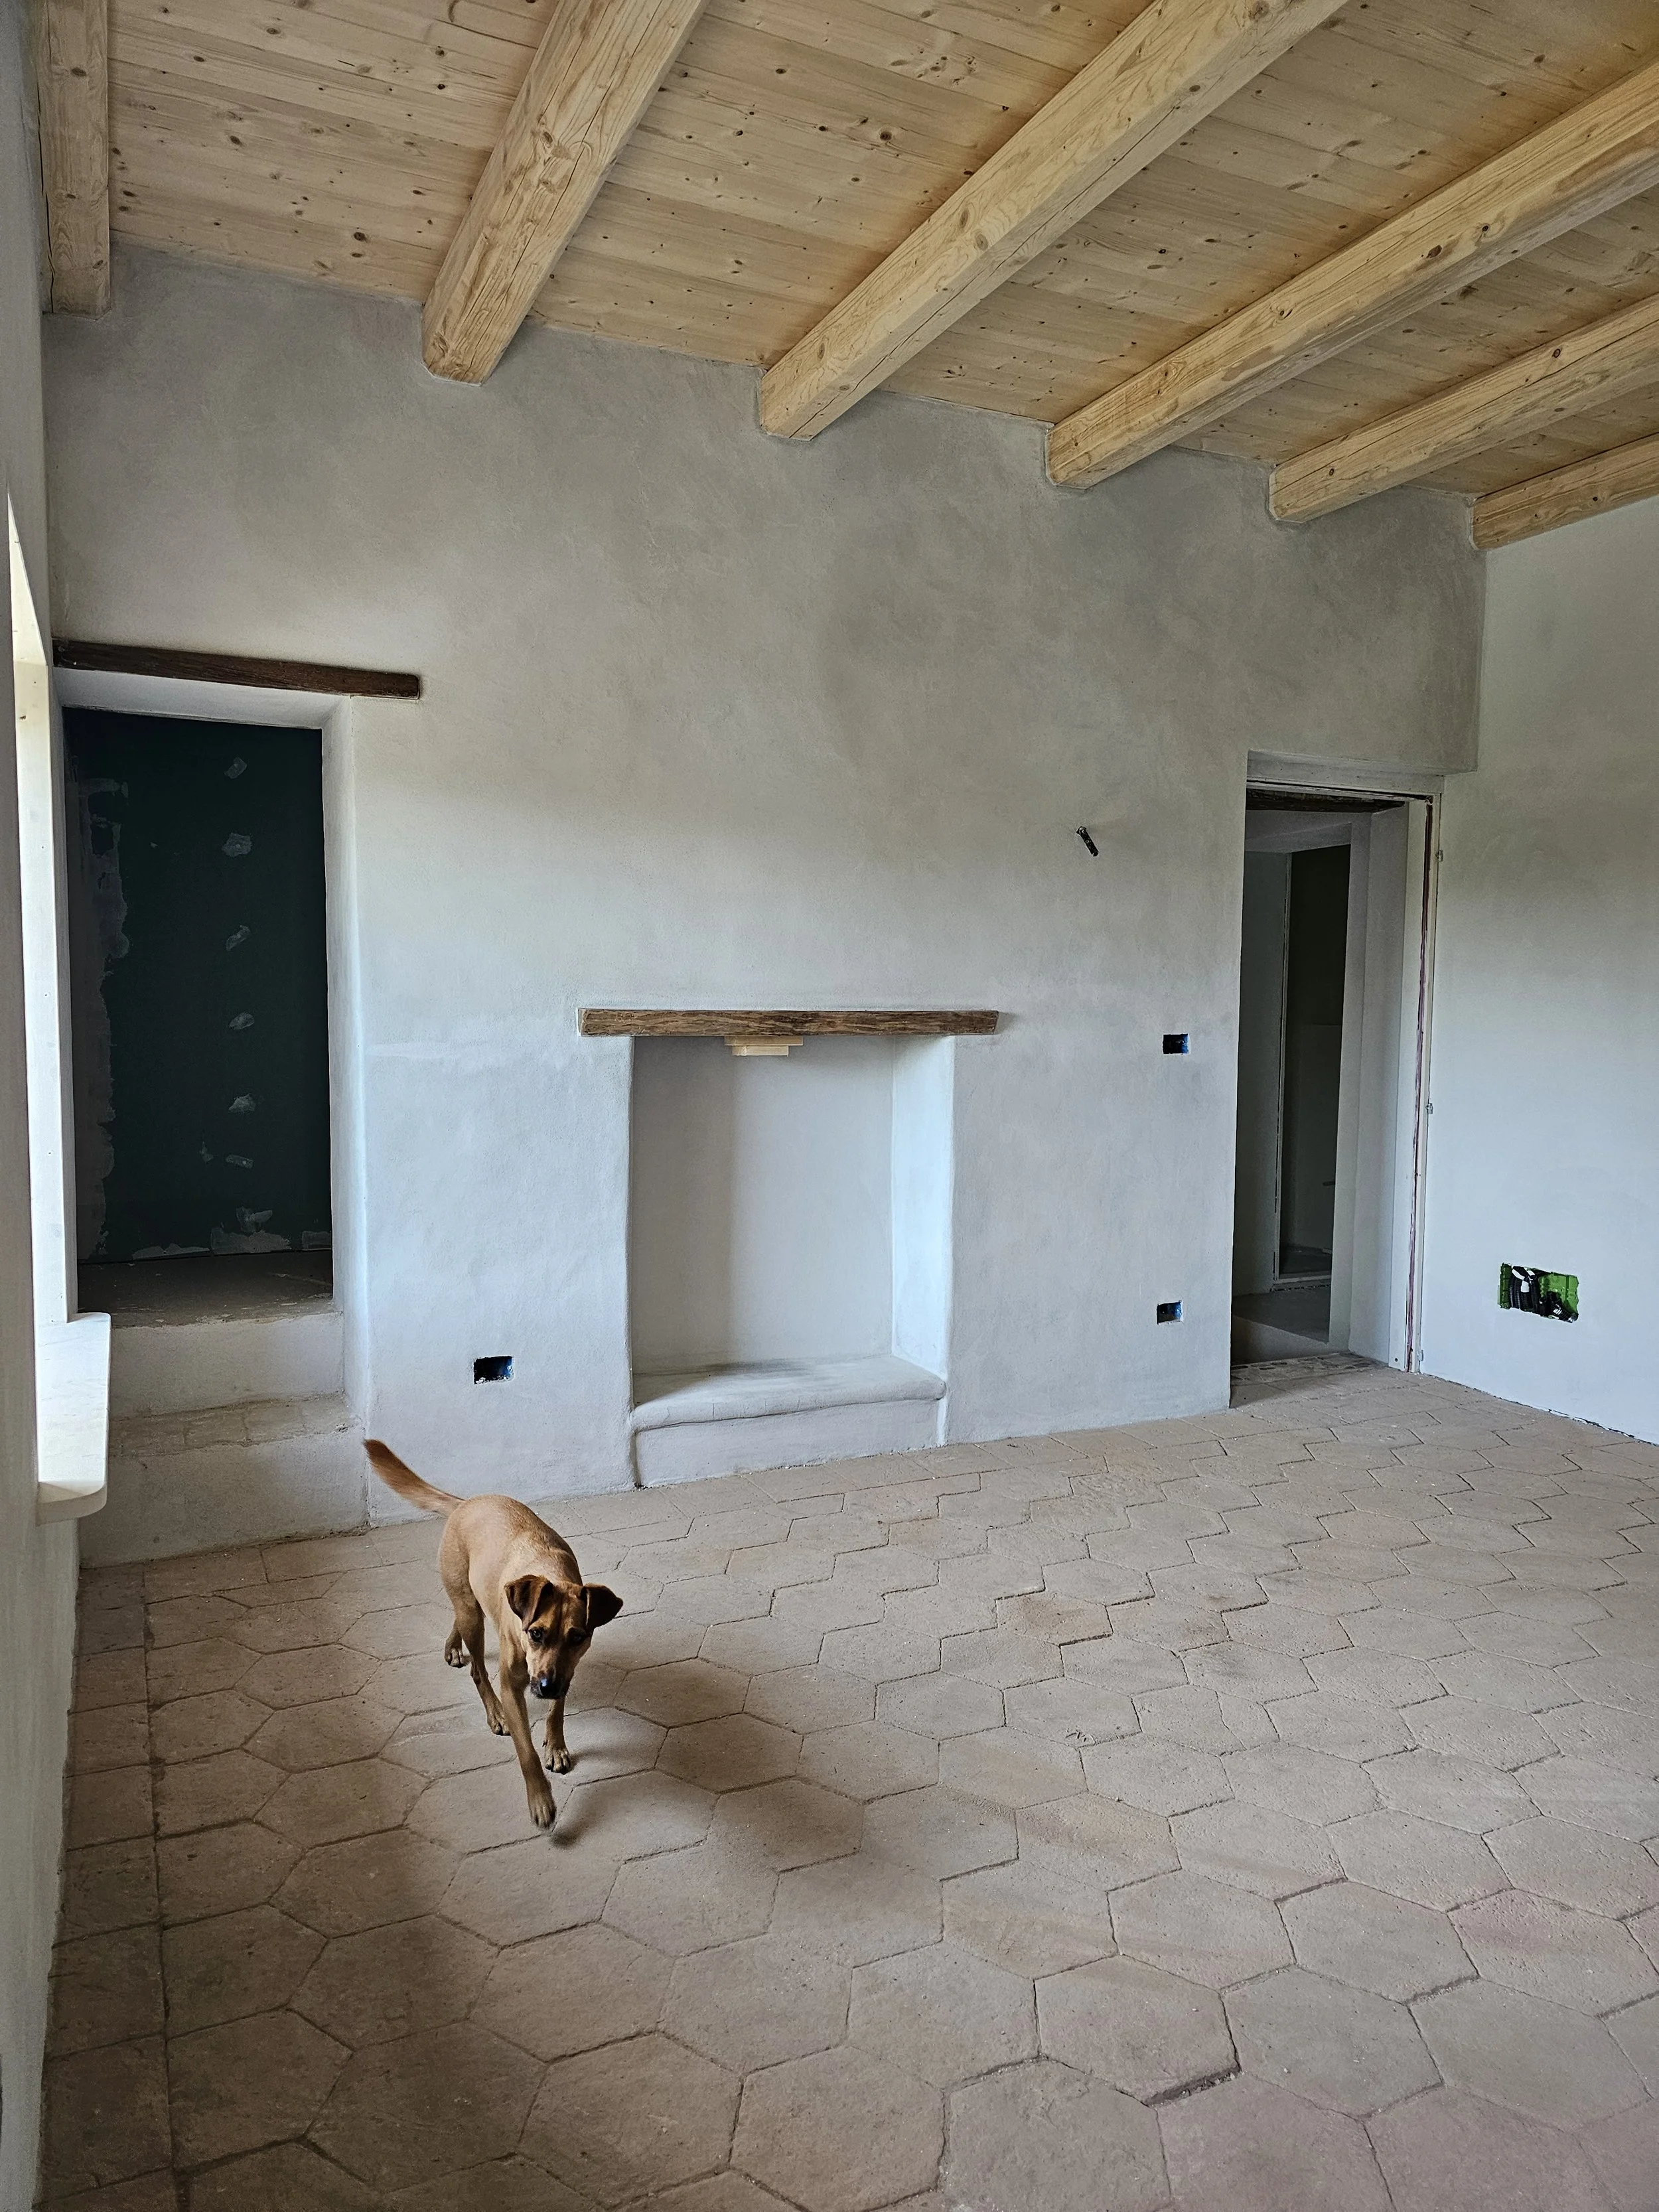
1. Raising the ceiling with wooden beams in guest bedroom 1
In Piemonte, brick vaulted ceilings are very common. If you remove the plaster layer and sandblast the final layer (you can rent a sandblaster from Mollo Noleggio – we paid about €1200 for a week’s rental, including sand), you’ll get a beautiful authentic ceiling with a warm look. However, in guest bedroom 1, we decided to remove the ceiling entirely.
Why? The ceiling was low, stuffy, and in poor condition. We saw an opportunity to create a higher ceiling with beautiful wooden beams, which gave the room much more character and made it far more livable.
The spruce beams have nicely beveled edges and come in different sizes. The cost? Surprisingly affordable: about €800 (including the flooring in 2023) from Leone Legnami. On top of the beams, we laid insulated spruce planks. The medium brown oil we used made the ceiling match our mood board perfectly, and it looks like it has been there for years.


2. Adjusting the layout of the upstairs
There was an unfinished storage room upstairs (not plastered, no flooring), labeled as a 'locale smombergo'. It was unnecessarily large, so we decided to move the wall to create a separate toilet and make the hallway a bit roomier.
This also brought symmetry to the bathroom, with the window overlooking the church of Vaglio Serra becoming the centerpiece. This change not only gave us more usable space but also enhanced the overall look and feel of the bathroom.


3. Preserving the original floors
We chose to keep the floors downstairs and on the stairs, and we also reused the cotto tiles from another room. Initially, I hated the floors and was determined to remove them. But to save both money and work, we decided to see how we could work with what was already there.
We ended up using one of the colors from the stairs as inspiration for the bathroom. By adding a terrazzo floor in the bathroom, it feels like everything was always meant to be. Sometimes it’s easier to design when you have a starting point to work around – it gives direction and structure.
The cotto floor we reused in other rooms was thoroughly cleaned with a pressure washer and laid in lime mortar. We then painted the floor, and now it almost looks like a travertine floor!


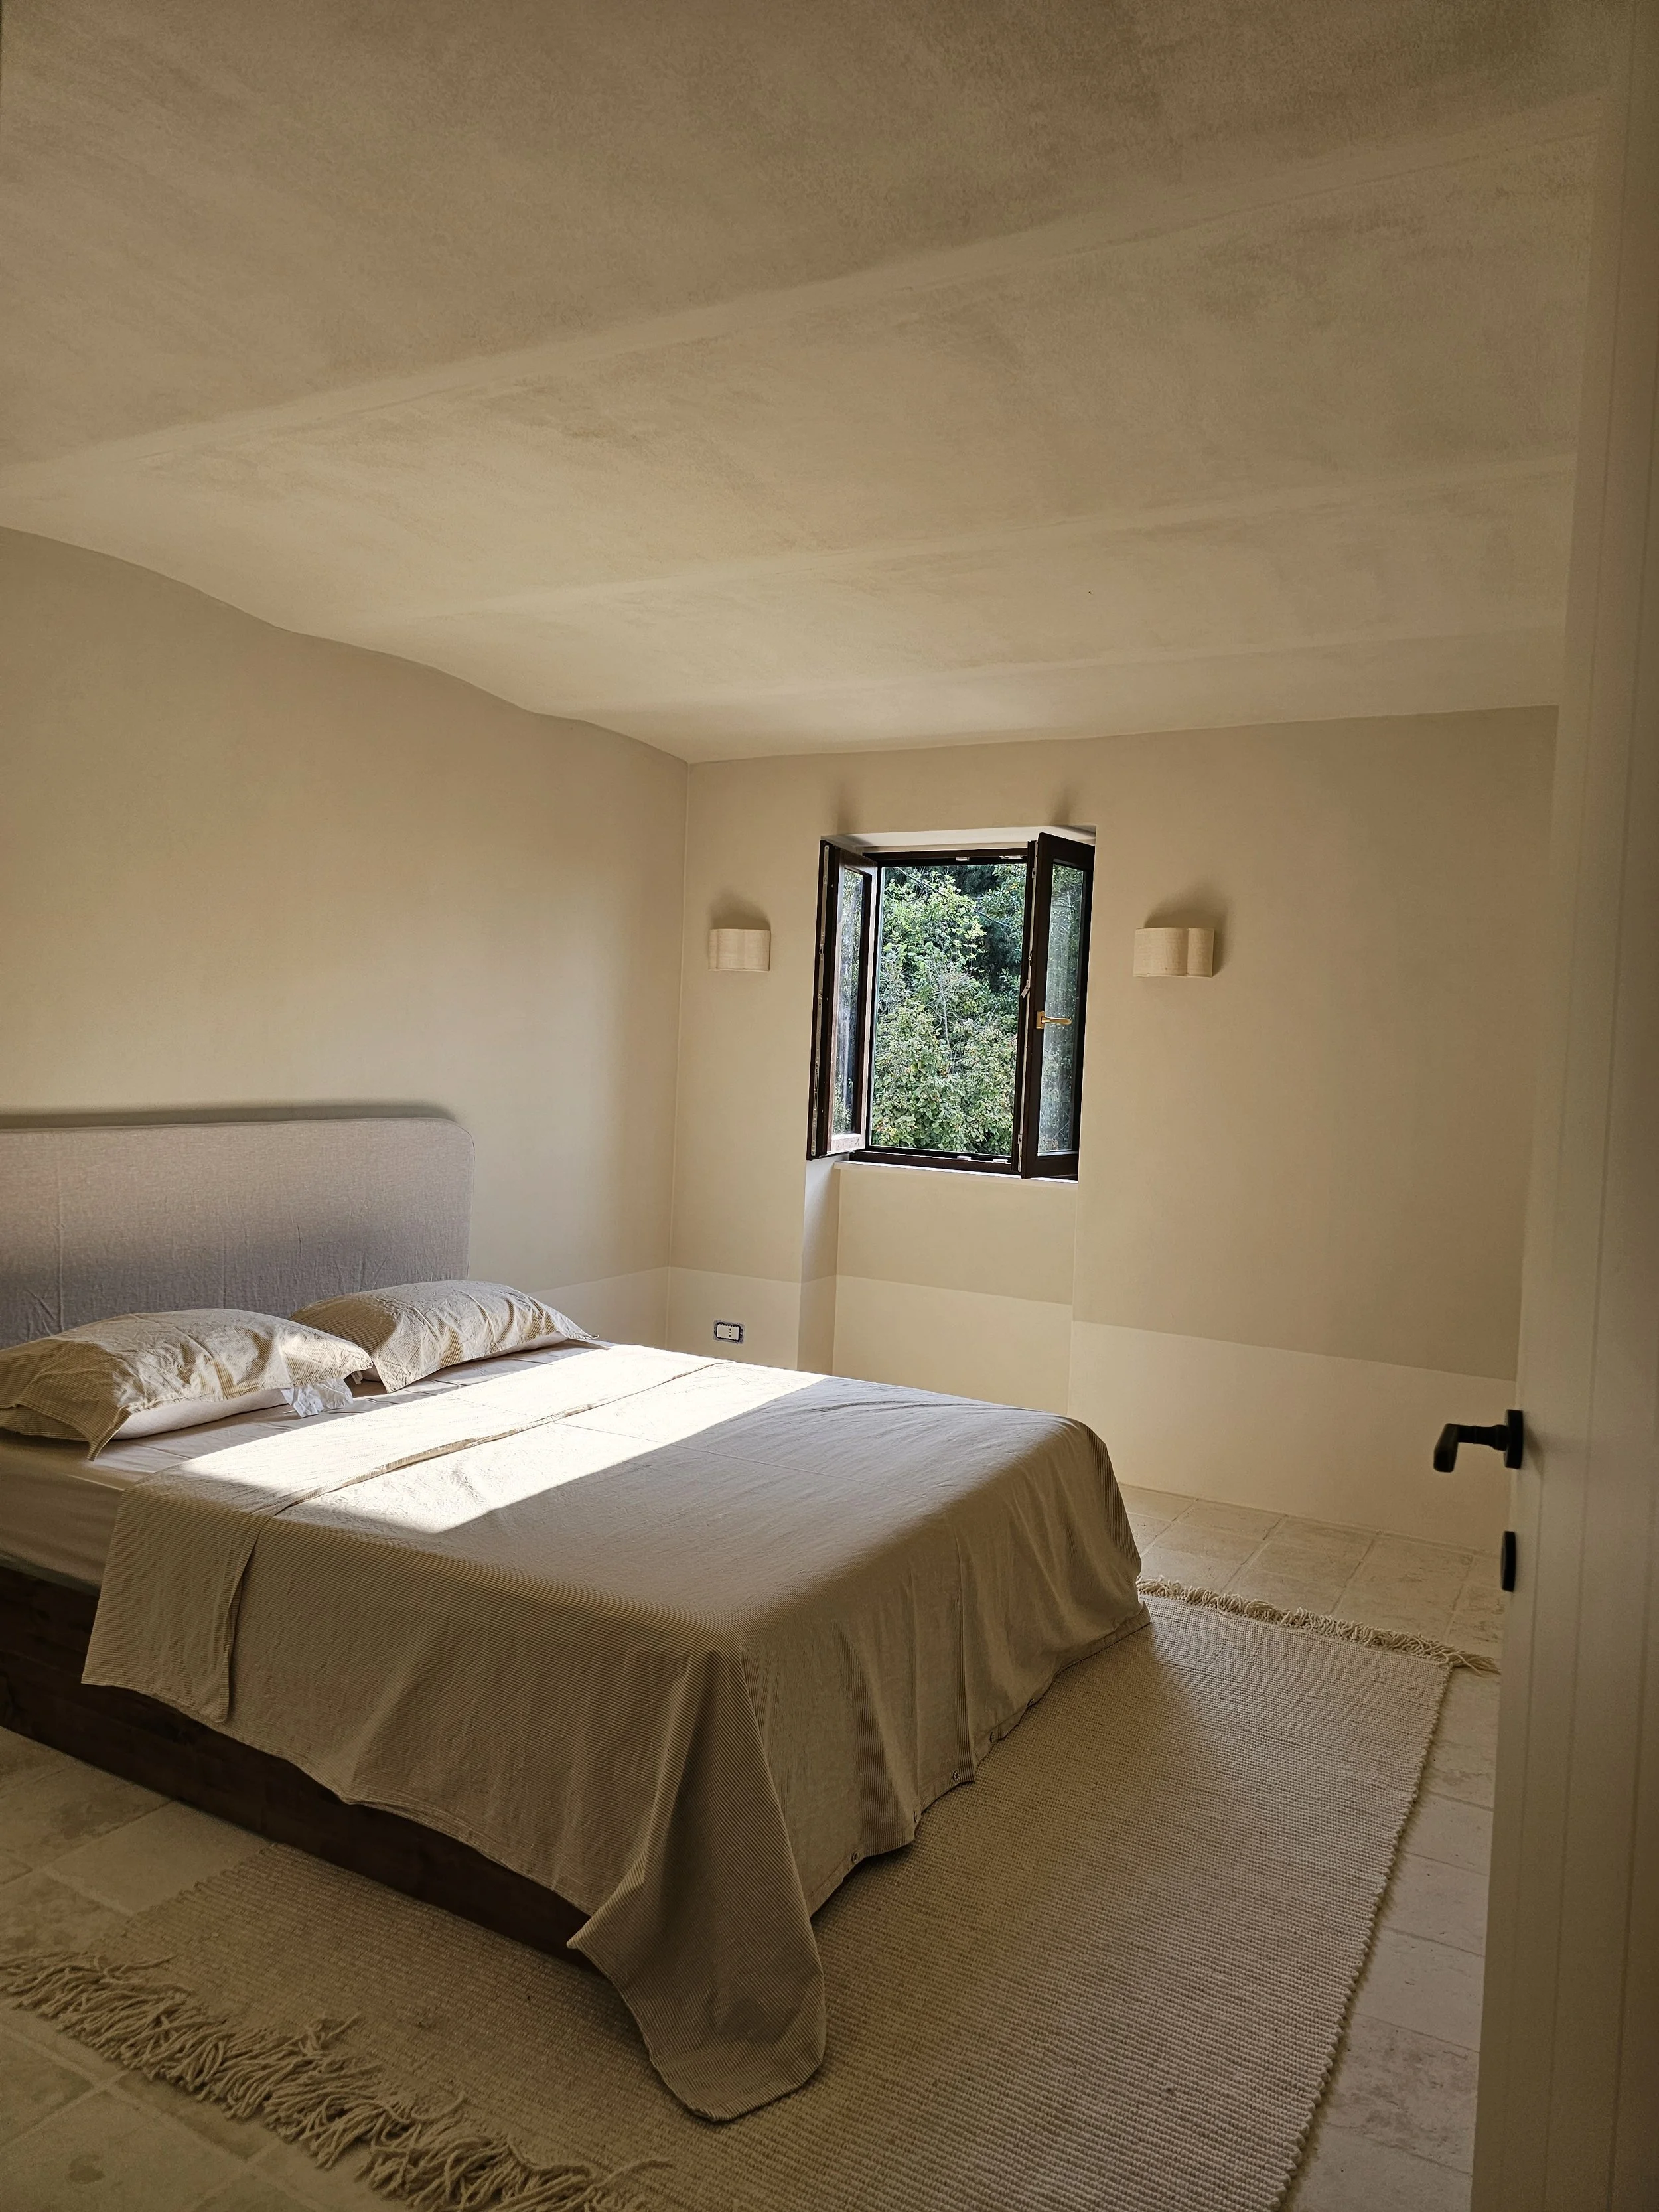
4. The new windows
Yes, we can’t forget the windows: a significant investment (€1100 per window, including mosquito screens), but they’ve added so much comfort. We initially debated whether to keep the old windows (we're big advocates for restoration and preservation), but the windows were in such poor condition that thicker glass wasn’t an option, which was important for comfort.
By choosing wooden windows, we added warmth to both the exterior and interior spaces. The wood fits well with the style of the house. By using light colors around them, the dark wood doesn’t feel too heavy but instead blends harmoniously with the rest of the home.
“Finding the hexagon-shaped cotto floor under layers of carpet and glue was like uncovering a hidden treasure.”
Curious about what we can do for you?
After reading about our renovation journey, do you have ideas for your own project? Or are you wondering how we can help with the design of your (holiday) home? Whether it's custom furniture, finding the right craftsmen, or creating a space that truly reflects your style—we're happy to think along with you.
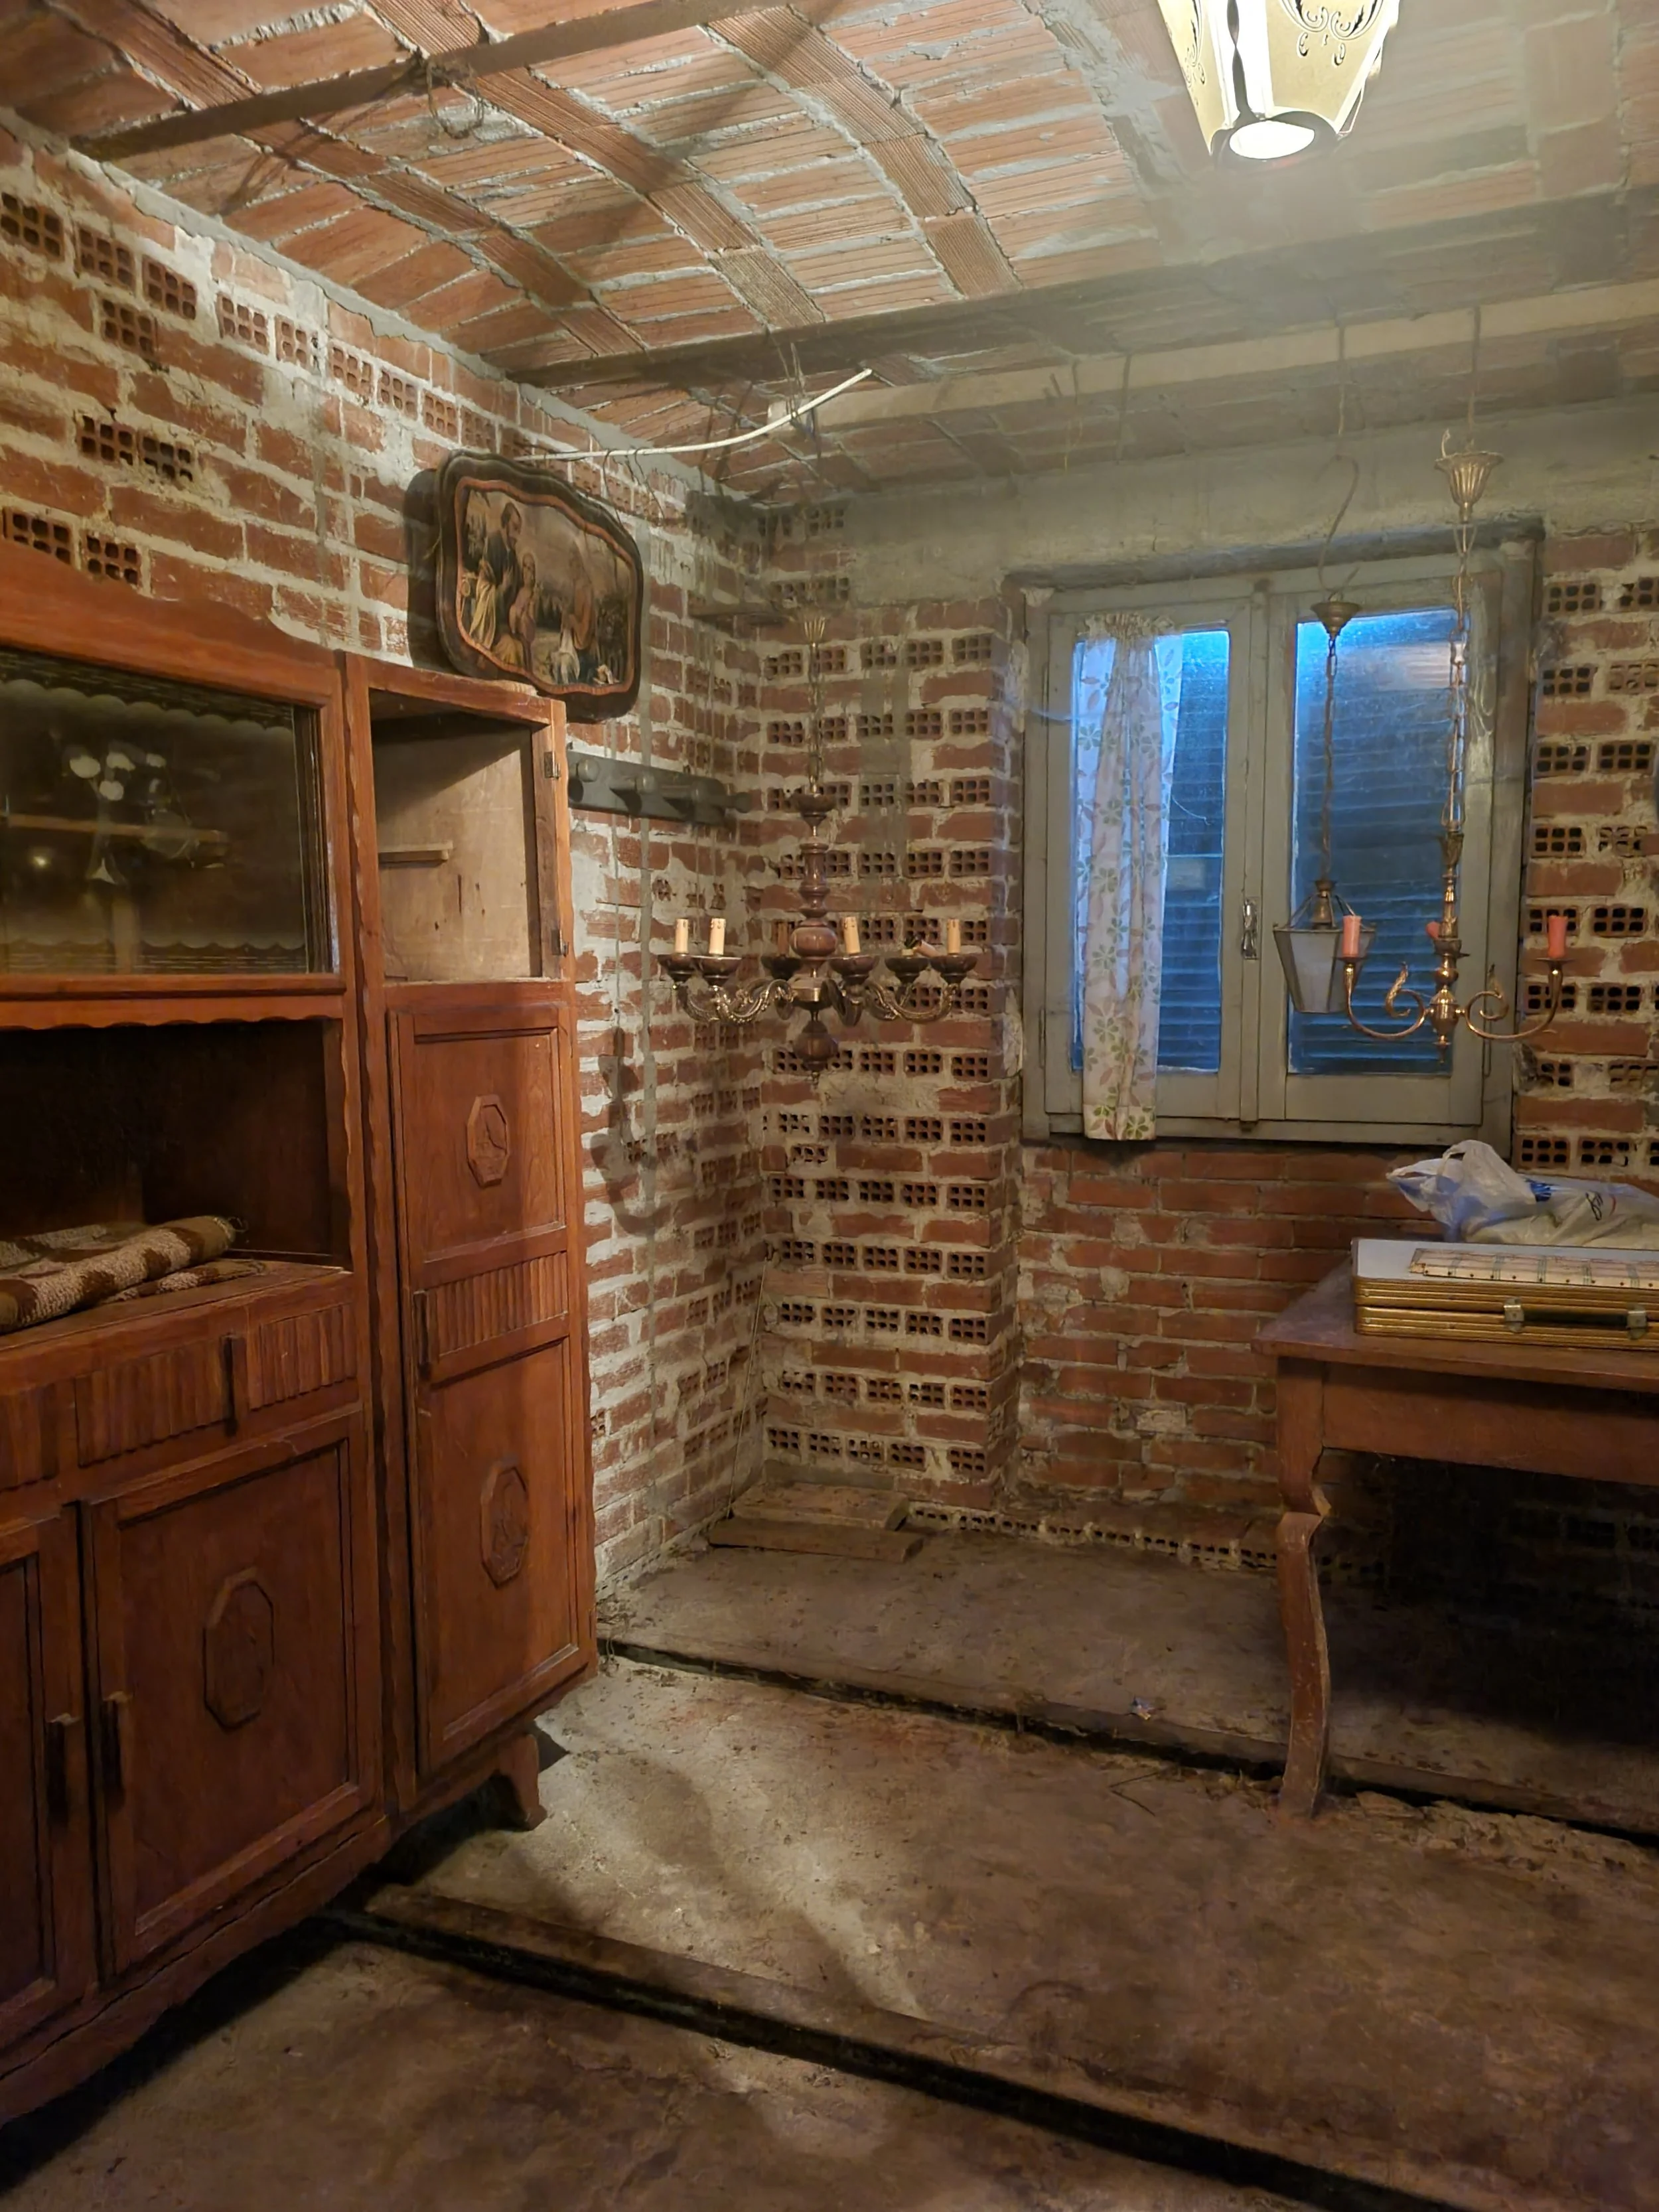
Fun surprises: What we discovered
On the ground floor, we found two old niches behind the plastic paneling and thick layers of plaster. One small niche, perfect as a little bookshelf, and a larger one where a fireplace used to be. For us, it was a no-brainer to bring both back. This way, we could install a wood stove in the room using the old chimney, and we added a lot of character to the space.
Both niches got a wooden beam as a lintel. The fireplace got a small podium with rounded corners, and the niche was finished with a cotto windowsill. Now, they look like they’ve always been there.
Upstairs is where we made the biggest discoveries. After removing the carpet and layers of glue and leveling compound, we found a beautiful hexagon-shaped cotto floor. Then, behind the wooden paneling, we uncovered a blue-painted stucco finish with a decorative trim, a small niche in the wall, a fireplace, and a door leading to the attic. We restored the niche and fireplace and installed a new wooden lintel. The attic door was too rotten to save, but we created a cozy reading nook by the window, perfect for winter days.


What’s next?
Now that the “foundation” is in place, we’re working on custom furniture for the rooms. The kitchen is almost done: Boy built it completely custom, with a wooden frame and a mitered wooden countertop. Once the curtains are up, the kitchen will be fully finished. The dining room bench is already oiled, and next, we’ll work on the bench beside the kitchen. Then we’ll tackle the custom furniture for bedroom 2.
The bathroom still needs a wall-to-wall hanging system in the same wood and color as the vanity. We’re also working oninstalling the air conditioners. The units will also provide heating for the three rooms, meaning we won’t need gas or pellets, and we’ll be able to control the heating remotely. Outside the facade is plastered so we’ll paint that once we’ve made a decision on the colour.

Want to follow our daily process? You can also find us on Instagram for more inspiration and updates!